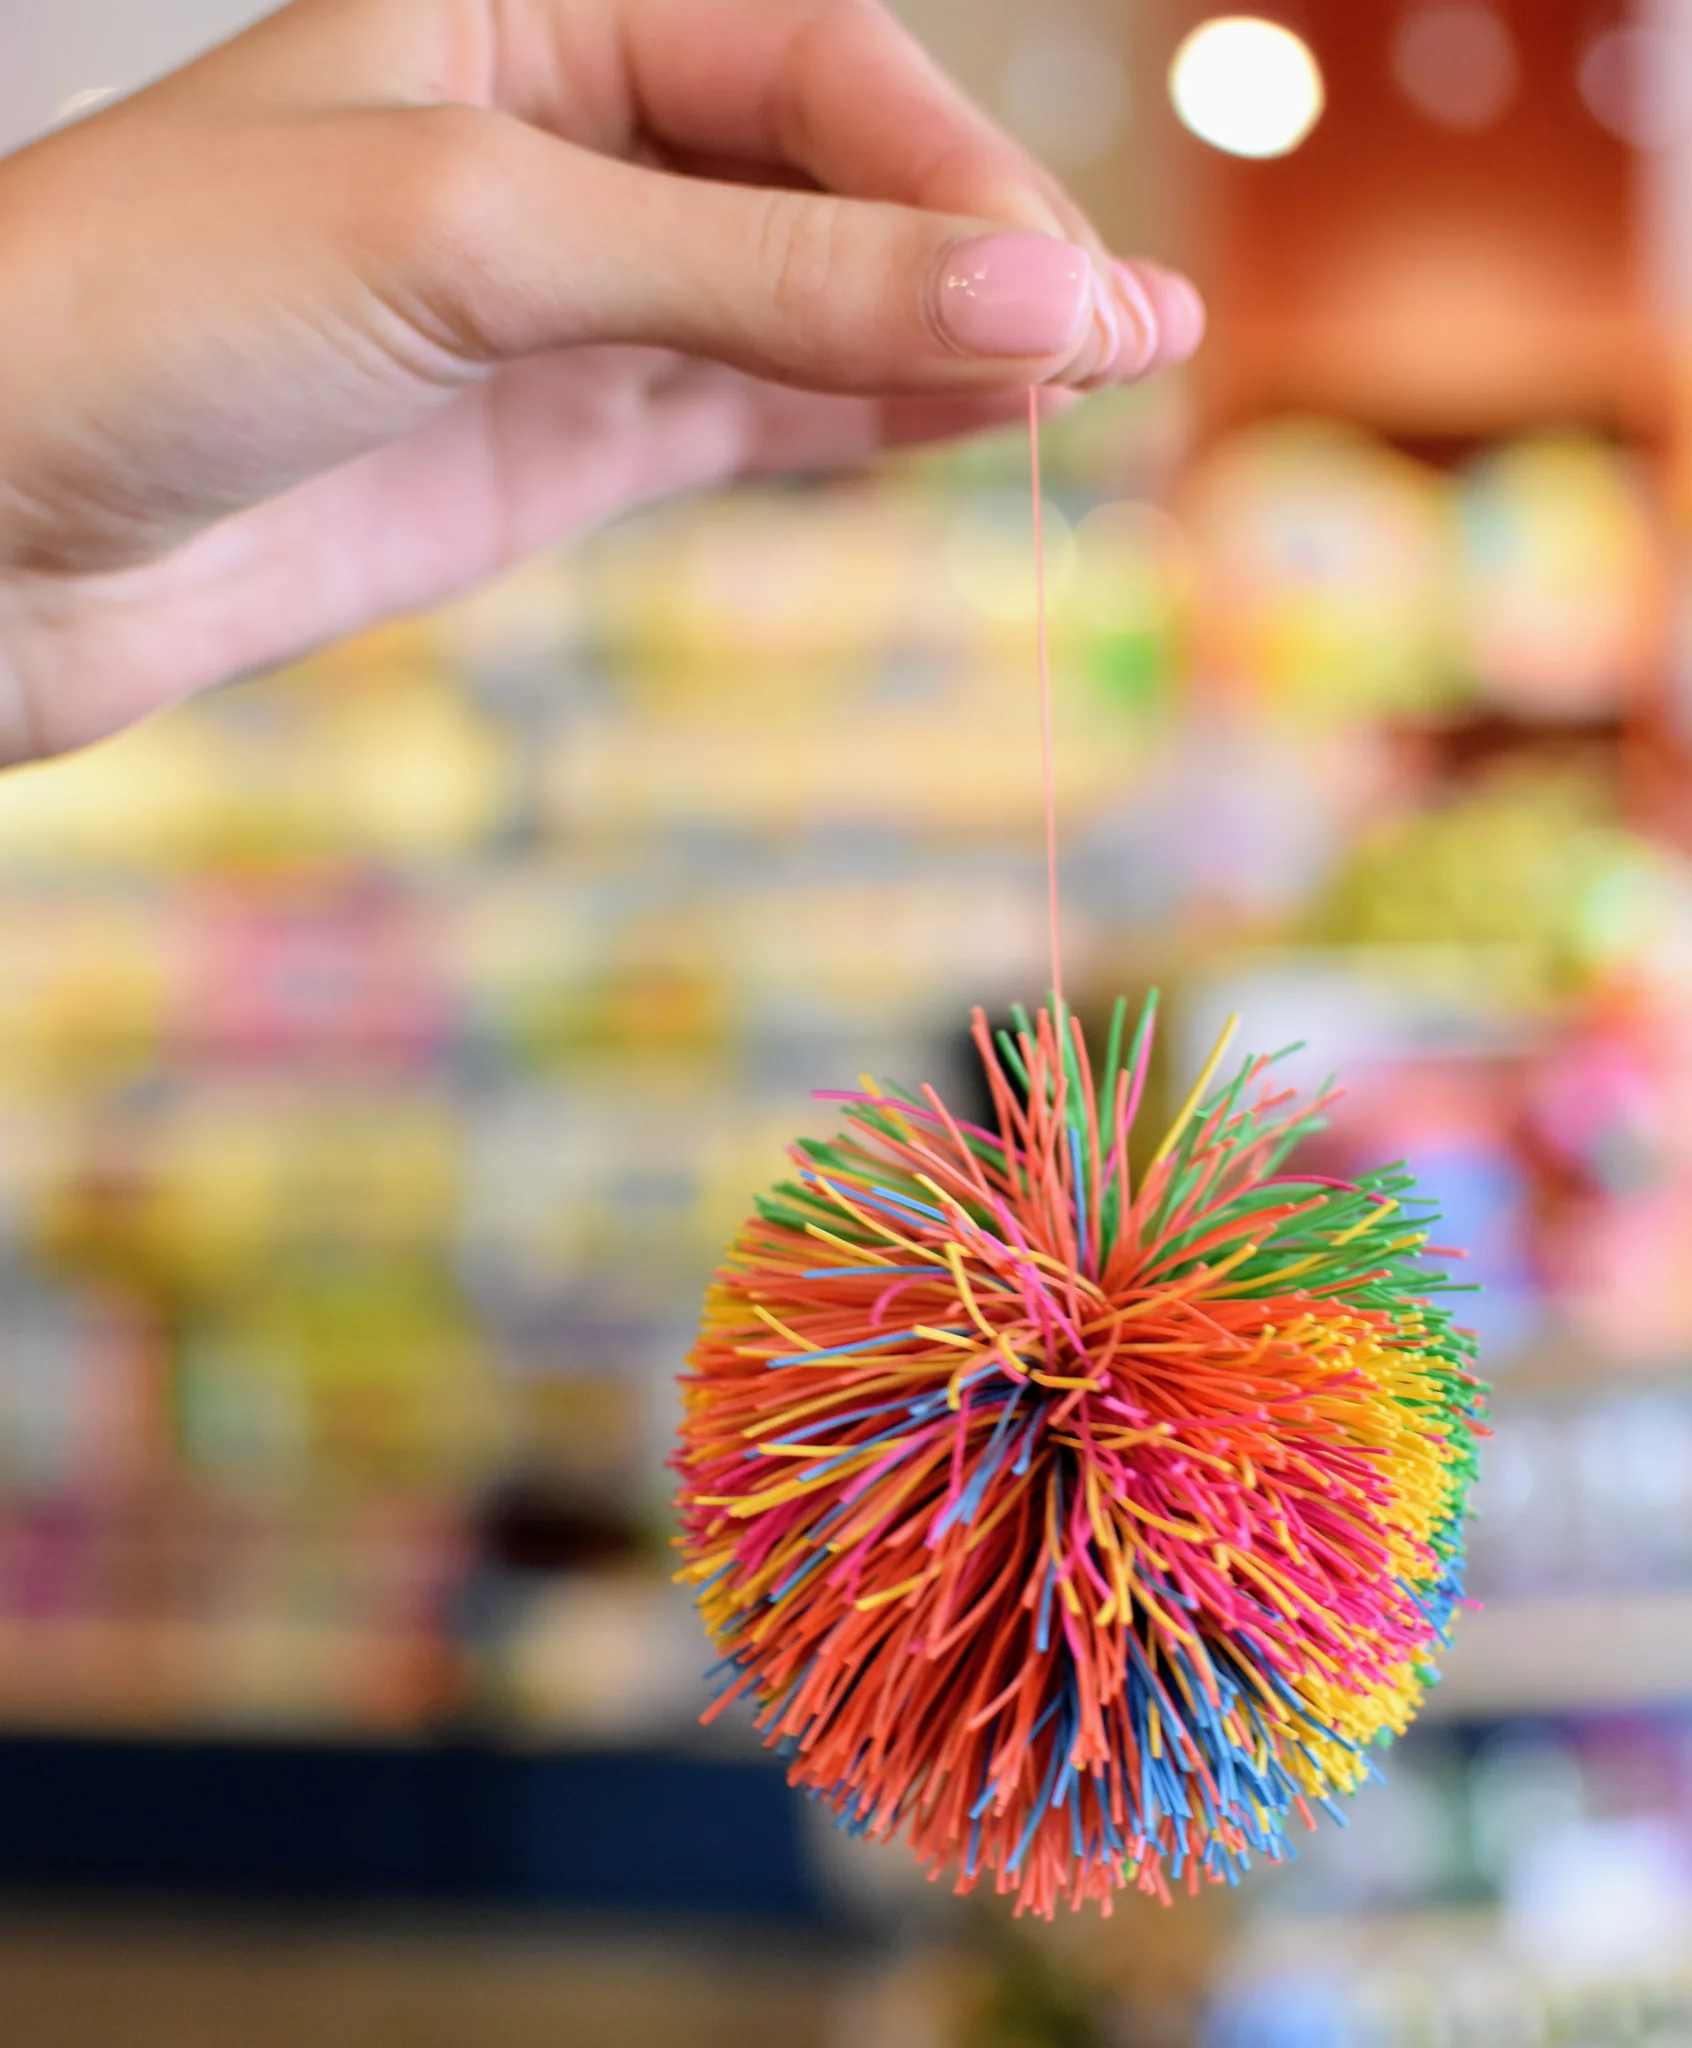
 I’m sure that anyone who has played with a Koosh ball knows that it is a very easy toy to play with and has an exceptionally wide range of ways to play with it. It has been a popular toy for decades and it is very simple to make. So why invest in expensive store-bought toys when you can unleash your creativity and make your own at home?
Making your own Koosh balls will stimulate your hands-on skills and creativity. In addition, homemade toys are a great way to create unique gifts for your children. In this guide, we’ll explore a variety of homemade Koosh balls and provide step-by-step instructions so you can fully enjoy yourself.
Materials Needed
To make your DIY Koosh ball, you will need the following materials:
- Rubber bands: Select rubber bands in various colors. The number of rubber bands required will depend on the desired size and density of your Koosh ball.
- Scissors: High-quality scissors will be necessary to cut the rubber bands to the desired length.
- Beads or marbles (optional): Adding beads or marbles to the center of your Koosh ball can add weight and enhance the ball’s bouncing capabilities.
- A core object: Choose an object to serve as the core of your Koosh ball. This can be a small, lightweight ball, a sponge, or any other item that you prefer.
Crafting Process
Now that you have gathered all the necessary materials, let’s dive into the step-by-step process of crafting your DIY Koosh ball:
- Prepare the rubber bands: Start by cutting the rubber bands into equal segments of approximately 5 to 6 inches. The number of segments required will depend on the desired size of your Koosh ball.
- Create the core: Take your chosen core object and wrap rubber bands tightly around it. Ensure that the rubber bands are evenly distributed and cover the entire surface of the core. This step will establish the initial structure of your Koosh ball.
- Begin weaving: Take two rubber band segments of different colors and cross them over each other to create an “X” shape. Repeat this step, adding more segments as needed, until you have formed a small square or rectangle.
- Expand the weave: Continue weaving the rubber bands by crossing each pair of segments over the adjacent pair, alternating the positions. This process should be similar to creating a traditional woven pattern. As you continue, the square or rectangle shape will start to expand.
- Increase the density: To increase the density of your Koosh ball, add more rubber band segments to the weave, ensuring that each segment is woven tightly. This will give your ball a fuller appearance and provide a more satisfying texture.
- Optional: Add beads or marbles: If desired, add beads or marbles to the center of your Koosh ball as you continue weaving. This will add weight and enhance the ball’s bouncing capabilities. Ensure that the beads or marbles are securely placed within the layers of the rubber bands.
- Complete the weaving process: Continue weaving and adding rubber band segments until you have achieved the desired size and density of your Koosh ball. Remember to maintain even tension and tight weaving throughout the process.
- Final touches: Once you are satisfied with the size and appearance of your DIY Koosh ball, make sure to secure the last rubber band segment tightly. Trim any excess rubber bands to maintain a clean finish.
Benefits of Creating Your Own Koosh Ball
Crafting a DIY Koosh ball can offer several benefits that extend beyond simply having a fun toy:
- Creativity and personalization: Making your own Koosh ball allows you to exercise your creativity and personalize the design according to your preferences. You can experiment with different color combinations and weave patterns, resulting in a unique and individualized toy.
- Cost-effective: Creating your own Koosh ball can be cost-effective, especially when compared to purchasing a pre-made one. Rubber bands and other required materials are readily available and affordable, making it a budget-friendly project.
- Learning opportunity: Crafting a DIY Koosh ball involves various skills, including weaving and spatial awareness. Engaging in such activities provides a valuable learning opportunity, particularly for children, to develop their fine motor skills and hand-eye coordination.
- Sense of accomplishment: Completing a DIY project, such as making a Koosh ball from scratch, can instill a sense of accomplishment and pride. The satisfaction of creating a functional and enjoyable toy with your own hands is unmatched.
Frequently Asked Questions
Q: Can I customize the colors and patterns of my DIY Koosh ball?
A:Absolutely! You can use different colored rubber bands or incorporate fabric with various patterns to create a personalized Koosh ball design.
Q: Are there any additional features I can add to my DIY Koosh ball?
A:You can attach ribbons, strings, or even small bells to the Koosh ball to enhance its sensory experience.
Q: Do I need any special tools for making a DIY Koosh ball?
A:No, most of the materials can be easily cut or manipulated by hand, so no special tools are required.
Q: How durable are DIY Koosh balls?
A:The durability of your DIY Koosh ball will depend on the materials you choose and how well you secure them. Properly constructed Koosh balls can withstand regular use.
Q: Can I gift a DIY Koosh ball to someone?
A:Absolutely! A homemade Koosh ball can make a thoughtful and unique gift for friends or loved ones.
Q: Can I wash my DIY Koosh Ball if it gets dirty?
A: Yes, most DIY Koosh Balls can be hand-washed gently using mild soap and water. Make sure to dry it thoroughly afterward.