Introduction to Resin Crafting
Resin crafting has taken the DIY world by storm. This versatile material allows for endless creativity and has become a favorite for making custom items like resin dominoes. Resin, a type of polymer, comes in two parts. You mix one part, the resin, with a hardener to start a chemical reaction. Once cured, it becomes a solid, clear, and durable plastic-like material. For beginners, it’s crucial to understand resin’s properties before starting a project. Safety is key when working with resin. Always use gloves and work in a well-ventilated area. The initial stages involve selecting the right type for your project. There are various resins available, each suited to different applications.
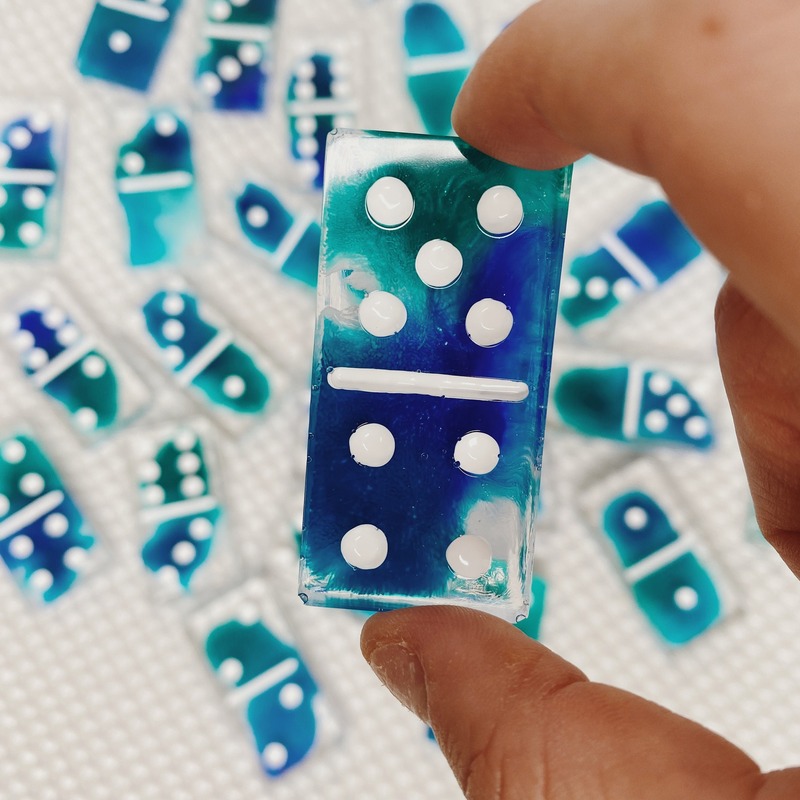
Epoxy resin is a popular choice for its ease of use and clarity. For making resin dominoes, it provides the perfect balance of strength and aesthetic appeal. The crafting process with resin is quite straightforward but requires patience. You’ll need to plan your design, prepare the mold, mix the resin, then pour. After curing, dominoes can be demolded and finished. Each step opens the door to customization, from colors to inclusions. Resin dominoes are not just fun to play with. They also make unique, personalized gifts or decorative pieces. Ready to dive into the world of resin crafting? Let’s move on to the essentials for making your own resin dominoes.
Essential Tools and Materials for Resin Dominoes
To start your journey in crafting resin dominoes, you need the right tools and materials. Here’s what you should gather:
Resin and Hardener
Epoxy resin is the key ingredient. You also need a hardener to cure the resin. Buy them as a set.
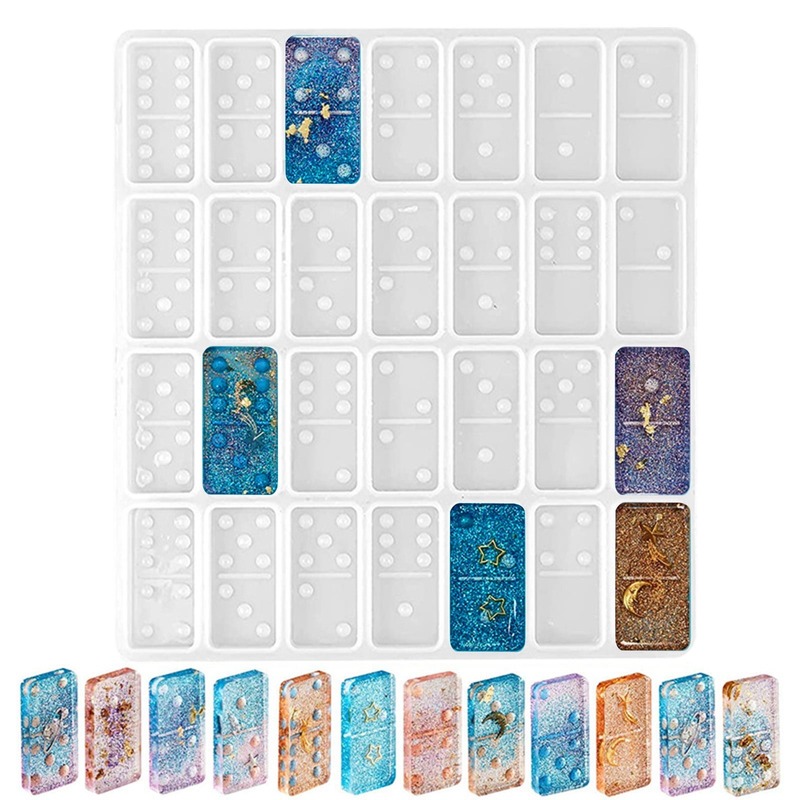
Silicone Mold
Get a domino-style silicone mold. It produces smooth finishes and is easy to use.
Mixing Tools
You’ll need mixing cups and stir sticks. Make sure they are clean to avoid impurities in your resin.
Safety Gear
Wear gloves to protect your hands. Also, use a respirator mask if working in a less-ventilated space.
Coloring Agents
Optional but fun. Use pigments or dyes to color your resin dominoes.
Decorations
Consider adding small embellishments. These can be anything from glitter to tiny pictures.
Polishing Tools
After demolding, you might need to sand or polish the dominoes. Have fine-grit sandpaper and polish ready.
With these items, you are prepared to create beautiful and unique resin dominoes. Enjoy the process!
Designing Your Resin Dominoes
Before you mix and pour, designing your resin dominoes is where creativity shines. Start with a simple sketch or idea. Think about the colors, patterns, or even images you want to embed within each piece. Will they have a traditional look, or will you give them a modern twist? For an eye-catching set, envision a design theme that runs across all dominoes.
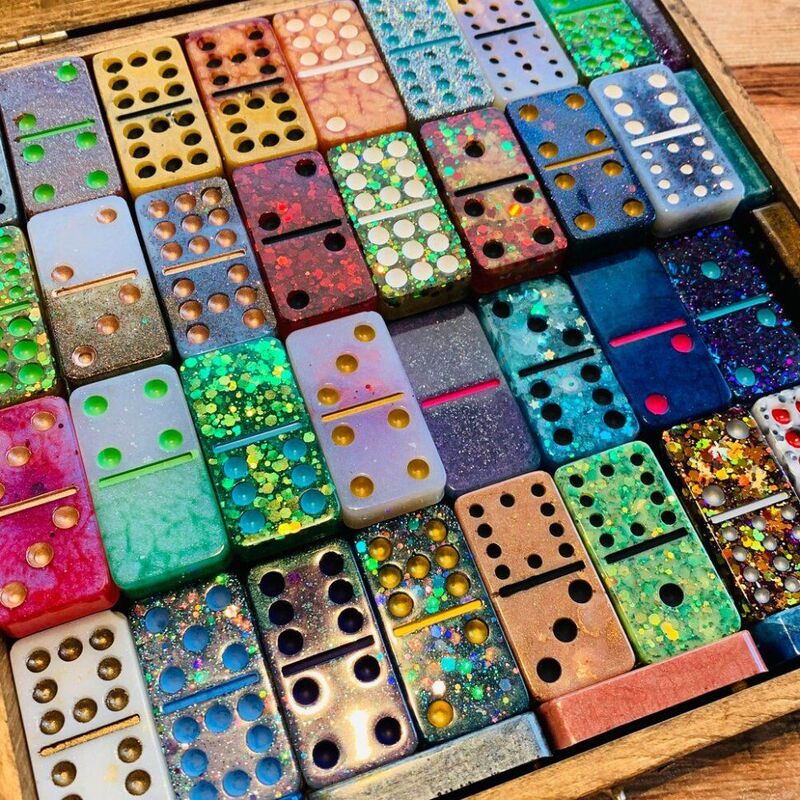
Choose Your Colors and Patterns
Select colors that complement each other. Use pigments or dyes sparingly to achieve the desired hue in your resin dominoes. Test your colors first in a small batch to ensure they meet your vision. Patterns can range from simple swirls to complex geometrical shapes. Remember, a little goes a long way. The key is not to overpower your design.
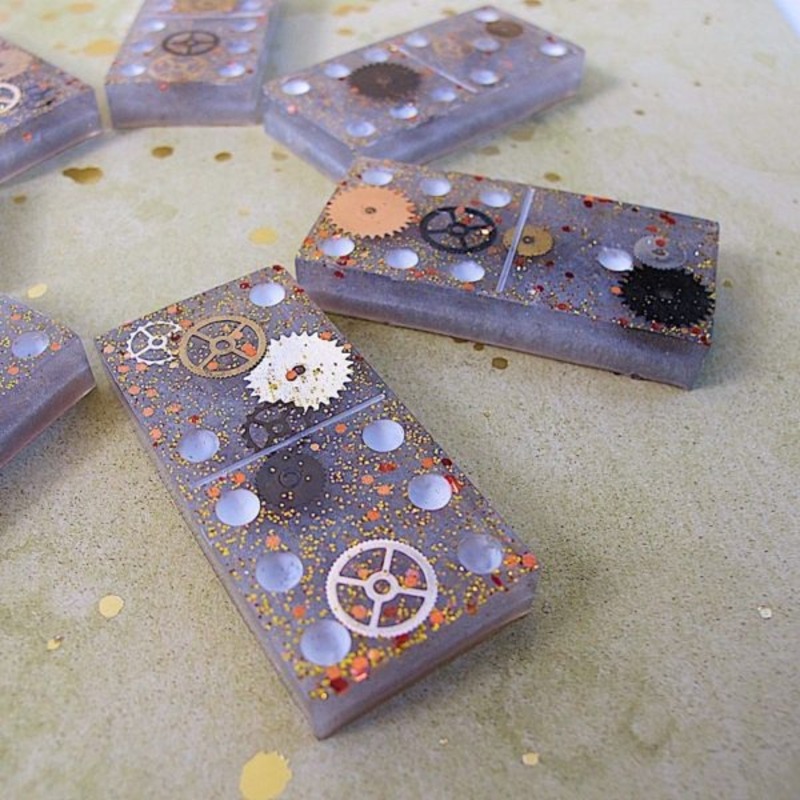
Incorporate Personal Touches
Personalizing your resin dominoes adds sentimental value. Embed small items like photographs, or even items like sand from a favorite beach or crushed flower petals. These touches make your dominoes one-of-a-kind. Ensure that any embedment is compatible with resin to prevent reaction or discoloration.
Plan for Usability
While design is crucial, don’t forget the functional aspect. Your resin dominoes should be easy to handle and read during gameplay. Considerations include dot size, color contrast, and the overall tactile experience. The aim is to balance aesthetic appeal and practicality.
Take the time to refine your design before moving to the mold preparation. This design stage sets the foundation for your bespoke resin dominoes, ensuring that they are as beautiful as they are fun to use.
Preparing the Mold for Resin Pouring
Before you pour the resin into the mold, proper preparation is crucial to ensure success. Each step is simple but vital to the outcome of your resin dominoes.
Clean the Mold: Start by cleaning your silicone mold thoroughly. Use mild soap and water. Ensure it’s completely dry before use to avoid water marks or bubbles in your resin.
Apply a Release Agent: Consider using a mold release agent. This makes it easier to demold your dominoes later on. Apply a thin layer, if you choose to use one.
Secure the Mold: Make sure your mold is on a flat surface. Use a level to ensure that it won’t tilt and cause uneven dominoes.
Check for Dust: Once clean, inspect for any dust or particles. These can show up in your final product.
Arrange Embellishments: If you plan to add embellishments or inclusions, lay them out. This helps to decide their placement within each domino cavity.
Plan Your Workflow: Before mixing, know your steps. Once you mix the resin and hardener, you’ll need to work quickly.
Preparing the mold is a step you won’t want to rush. Take your time to set everything right. This will help your resin dominoes turn out as perfect as possible.
Mixing and Pouring the Resin
After you have your mold ready, it’s time to mix and pour the resin. Accurate mixing and careful pouring are vital for high-quality resin dominoes. Let’s walk through this critical phase step by step.
Measure the Resin and Hardener: Start by measuring the resin and hardener. Follow the manufacturer’s ratio. Use separate cups for accuracy.
Mix Thoroughly: Combine the resin and hardener in a clean container. Stir slowly to reduce air bubbles. Mix for the time the instructions specify.
Let the Mixture Rest: After mixing, let it sit for a minute. This lets bubbles rise to the top.
Pour into the Mold: Now, pour the resin into the mold cavities. Fill each evenly and avoid overflowing.
Remove Air Bubbles: Look for bubbles and remove them. A heat gun or toothpick works well for this.
Cure the Resin: Let your resin dominoes sit to cure. The time will vary based on the resin type.
The mixing and pouring phase requires precision and patience. But the effort pays off with beautifully crafted resin dominoes. Always follow safety precautions, like wearing gloves and working in well-ventilated areas, throughout this process.
Adding Colors and Embellishments
When you add color and embellishments, your resin dominoes start to come to life. These steps allow for creativity and diversity in your pieces. Here’s how to create vibrant and detailed dominoes.
Choose a Color Scheme
Decide on a palette that reflects your style. Start with two or three colors that work well together. Use color combinations that stand out or match a theme you love. Mixing pigments or dyes into your resin should be done slowly. You want to achieve the right intensity without adding too much.
Add Pigments and Dyes
Incorporate your chosen pigments or dyes into the resin. Remember, a small amount is often enough to color the entire batch. Stir it in slowly to prevent air bubbles. Always test your colors in a small batch first to see the final hue.
Embed Small Items
For a unique effect, place small items or decorations into the mold before pouring. These could include glitter, beads, or small images. Position them where you want them to be seen in the finished dominoes.
Create Patterns
Use a toothpick or a small stick to swirl colors together in the mold. This makes intricate patterns that will make each domino unique. But, be careful not to overmix, as this can muddy your colors.
Consider the Cure Time
Some colors or embellishments may react with the resin as it cures. Always follow the manufacturer’s instructions. This ensures your added elements set correctly within the resin.
By adding colors and embellishments, you personalize each domino piece. This stage is fun, but it’s also where careful attention to detail is important. Your unique design choices make your resin dominoes a special set to cherish.
Demolding and Finishing Touches
After curing, it’s time to demold your resin dominoes. Carefully flex the silicone mold to loosen each domino. Gently press on the reverse side to pop them out. Now, look at your crafting results. It’s likely each piece will need some finishing work for smooth edges and polished surfaces.
Sand the Edges: Use fine-grit sandpaper to smooth any rough or sharp edges. Do this gently to avoid scratching the surfaces.
Polish for Shine: Apply a small amount of polish on a soft cloth. Rub each domino to bring out a glossy shine. This step will make your resin dominoes look professionally made.
Inspect for Flaws: Check each domino for imperfections such as bubbles or dust. You can often correct minor flaws with a bit more sanding and polishing.
Clean the Pieces: Wipe down your dominoes with a clean, damp cloth. This removes any dust from sanding and brings out the shine.
Add a Sealant (Optional): If you want extra protection, consider a resin sealant. It adds a protective coat and enhances the glossy look.
Finishing your resin dominoes with these touches ensures they feel as good as they look. Your handcrafted dominoes are now ready to be played with or gifted. They are unique, personal, and a testament to your creativity and skill in resin crafting.
Tips for Maintaining Your Handcrafted Dominoes
Once you’ve created your stunning set of resin dominoes, maintaining their appearance is important. Here are some simple tips to keep them looking like new:
Handle with Care: Handle your dominoes gently to avoid chips or cracks.
Store Properly: Keep them in a soft bag or a padded box when not in use. This protects them from dust and scratches.
Avoid Heat: Keep dominoes away from high heat sources. Excessive heat can warp or melt the resin.
Clean Regularly: Wipe your dominoes with a soft cloth after use to remove fingerprints or smudges.
Avoid Chemicals: Don’t use harsh cleaners. A mild soap and water solution is enough to clean them.
Regular Check-Up: Occasionally inspect each domino for any damage that might need repair.
By following these maintenance tips, your resin dominoes will stay in excellent condition, game after game.