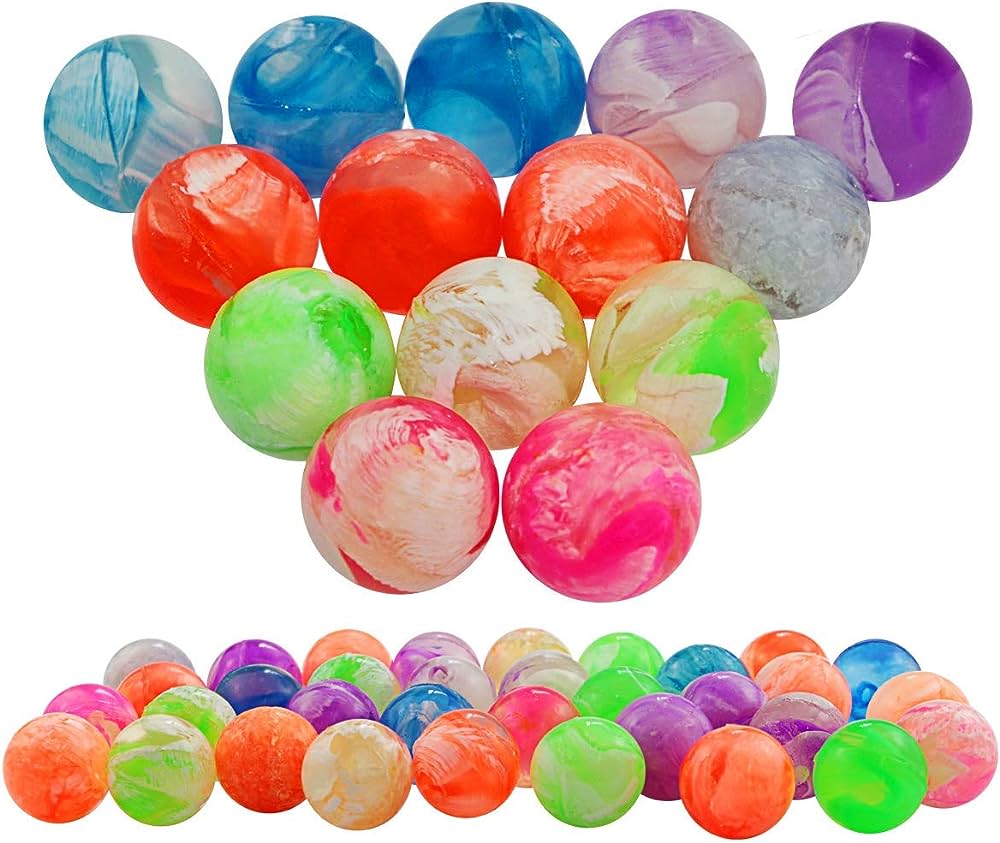
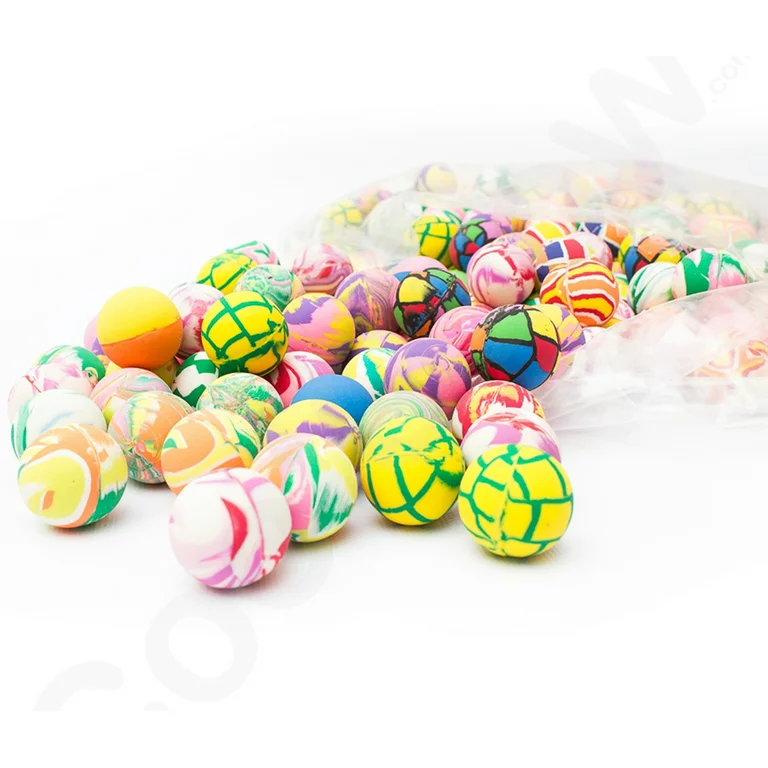
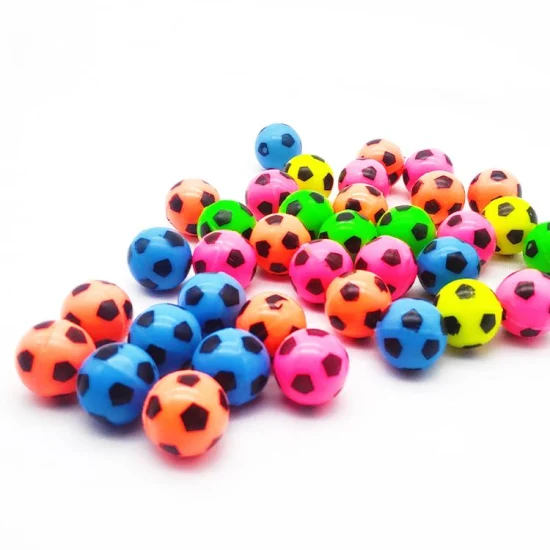
Bouncy balls are not only a fun toy for kids but also a great canvas for creativity. Decorating bouncy balls allows you to personalize them, add a unique touch, and turn them into eye-catching pieces. In this essay, we will explore ten creative ways to decorate bouncy balls, ranging from simple techniques to more intricate designs.
Paint and Stencil Designs
Painting and using stencils is a simple and effective room to decorate bouncy balls. Here’s how:
- Gather your materials: bouncy balls, acrylic paints, paintbrushes, and stencils.
- Choose a base colour for your bouncy ball and utilise it using a paintbrush. Let it dry completely.
- Place a stencil on the dry ball and secure it with tape.
- Use a different color of paint to fill in the stencil design.
- Carefully remove the stencil and let the paint dry out before playing with your decorated lively ball.
Decoupage with Tissue Paper
Decoupaging with tissue paper creates a textured and gaudy look. Follow these steps:
- Tear or write out moderate pieces of colored tissue paper.
- Apply a thin layer of decoupage glue or a mixture of glue and water to the bouncy ball.
- Place the tissue wallpaper pieces onto the glue, overlapping them to make texture and patterns.
- Smooth out whatsoever wrinkles or air bubbles with a brush or your fingers.
- Apply other level of glue o’er the tissue wallpaper to varnish it and let it dry completely.
Glitter and Mod Podge
Adding glitter to bouncy balls gives them a sparkly and glamourous appearance. Here’s how to do it:
- Apply a thin layer of Mod Podge or clear-drying paste to the bouncy ball.
- Sprinkle glitter over the glue, covering the entire ball.
- Gently tap the ballock to remove whatever excess glitter.
- Let the glittered ball dry out completely before playing with it, ensuring that the glitter adheres securely.
Personalized with Permanent Markers
Using permanent markers allows you to make personalized and intricate designs on bouncy balls. Follow these steps:
- Clean the surface of the bouncy ball with rubbing alcohol to remove whatever dirt or oils.
- Use permanent wave markers to draw designs, patterns, or write messages on the ball.
- Allow the ink to dry for a couple of transactions to prevent smudging.
- For more detailed designs, employ fine-tipped markers or experiment with shading and gradients.
Mosaic Patterns with Colored Dots
Creating mosaic patterns with colored dots adds a vibrant and elfin touch down to bouncy balls. Here’s how:
- Use different colored person permanent wave markers to draw small dots all o’er the springy ball.
- Apply the dots in different pattern or create specific designs and shapes.
- Experiment with various color combinations to achieve the desired effect.
- Let the ink dry totally before playing with the ball, ensuring that the dots undefined not smudge.
Washi Tape Wraps
Using washi tape is a quick and unique way to decorate bouncy balls. Follow these steps:
- Choose your craved colors and patterns of washi tape.
- Cut modest strips of tape and wrap them round the bouncy ball, overlapping slightly.
- Continue wrapping the tape until the ball is totally covered or make specific designs by strategically placing the tape.
- Cut off excess tape and weightlift it securely to insure it adheres well.
Marble Effect with Nail Polish
Creating a marble effect on bouncy balls using nail shine adds an unusual and artistic touch. Here’s how:
- Fill a container with room-temperature water.
- Choose a few colors of smash polish and carefully expend them onto the water’s surface.
- Use a toothpick or skewer to swirl the colors together, creating a patterned pattern.
- Submerge the ball into the water, rolling it around to pluck up the nail polish design.
- Remove the ball, allow the surplusage nail polish to drip off, and let it dry completely.
Felt and Fabric Wraps
Wrapping balls with fabric or felt adds texture and a cozy feel. Here’s how to do it:
- Cut fabric or felt into strips or shapes that are wide enough to wrap round the bouncy ball.
- Apply a thin layer of craft paste or use a hot glue gun to attach ace terminate of the fabric or felt up to the ball.
- Wrap the material tightly around the ball, securing it with paste as needed.
- Trim whatever surplus fabric or felt, ensuring a tidy and finished look.
Glow-in-the-Dark Designs

Creating glow-in-the-dark designs on bouncy balls adds an exciting element, especially for nighttime play. Follow these steps:
- Glow-in-the-dark paint or markers: Utilize glow-in-the-dark rouge or markers specifically designed for craft projects. These paints and markers contain light materials that absorb light during the day and emit it in the dark, creating a lucent effect.
- Designing with glow-in-the-dark elements: utilize the glow-in-the-dark rouge or markers to draw designs, patterns, or messages on the surface of the springy balls. look at creating stars, planets, or other space-themed designs for a captivating effect.
- Applying the glow-in-the-dark material: Clean the surface of the bouncy balls to remove any dirt or oils. Shake the glow-in-the-dark rouge or markers swell to ensure the light materials are undefined mixed. Apply the paint or utilize the markers to carefully draw your desired designs on the elastic balls. take into account the paint or markers to dry completely.
- Testing the burn effect: To ensure the glow-in-the-dark design is effective, expose the bouncy balls to brightly light for the advisable duration specific by the paint or marking manufacturer. This allows the phosphorescent materials to absorb and store the get off energy. Once adequately charged, turn off the lights and find the radiance effect.
- Recharging the glow: If the glow starts to fade, you tin well reload it by exposing the bouncy balls to other round of brightly light. Alternatively, using a flashlight or a ultraviolet light source can cater a promptly boost of light energy.
- Experimenting with different colors: Glow-in-the-dark paints and markers come in versatile colors, allowing for creativity and customization. view incorporating multiple colors or layering different dark glasses to create a more dynamic and unique design.
- Safety precautions: insure that the glow-in-the-dark paints or markers secondhand are non-toxic and safe for use on toys. It is essential to follow the manufacturer’s guidelines and recommendations for proper use and application.
- Additional embellishments: To enhance the glow-in-the-dark designs, you can incorporate strange decoration such as glitter, sequins, or small adhesive stars. These additions can create extra seeable matter to and promote heighten the overall effect.
- Nighttime game ideas: Once the bouncy balls are decorated with glow-in-the-dark designs, they can be preceding for various dark games so much as glow-in-the-dark catch, glow-in-the-dark bowling, or glow-in-the-dark target games. These activities hyerbolise the use and excitement of playing with the wreathed bouncy balls.
- Long-lasting designs: With proper design and maintenance, the glow-in-the-dark designs on the bouncy balls set down up survive a yearn time. Avoid inordinate detrition or scrape that could damage the designs. Additionally, hive away the bouncy balls in a cool, nighttime need to spare the sunburn effect.
All in all, creating a glow-in-the-dark design on a bouncy ball is a very creative idea. It makes bouncy ball play more diverse! Especially in low light or dark conditions. By using glow-in-the-dark markers, we can not only use our creativity to create unique patterns. You can also have a grand adventure at night with your friends and create unforgettable memories. Come and accept this challenge together!