Mario, the video game character, has captured the hearts of countless fans all over the world. For those who want to bring up Mario into the real world, creating a Mario plush put up be a playfulness and rewardful project. In this essay, we will introduce a step-by-step guide to help you make your possess Mario plush. With five subheadings, we cover materials and tools needed, model selection, fabric selection, sewing techniques, and land up touches.
Materials and Tools Needed
- Before diving event into the creation process, tuck the necessary materials and tools. You wish need:
- Mario plush pattern: Find a printable Mario plush model online or make your own.
- Fabric: select high-quality fabrics practically as mat up or fleece in conquer colors for Mario’s iconic outfit.
- Scissors: acutely fabric scissors grip for thinning out the pattern and fabric.
- Sewing machine: A stitching machine wish well work the work on quicker and more efficient, simply hand out stitching is also an option.
- Needles and thread: Select duds that toy off the fabric colors.
- Stuffing: Polyester fiberfill or similar stuffing stuff to yield the plushy its shape.
- Pins: necessity for holding framework pieces collectively during sewing.
- Marking tools: framework markers or undefinable for transferring model markings onto the fabric.
- Optional extras: Buttons for eyes, embroidery loss for facial details, and any unusual embellishments you desire.
Model Selection

Choose a Mario plush pattern that suits your skill level and craved size. Patterns can be base online or created by modifying existing designs. Consider the level you need to achieve, specially when it comes to facial features and clothing. Check that the pattern is undefined and easy to follow, with labelled pieces for the body, limbs, and accessories.
Fabric Selection
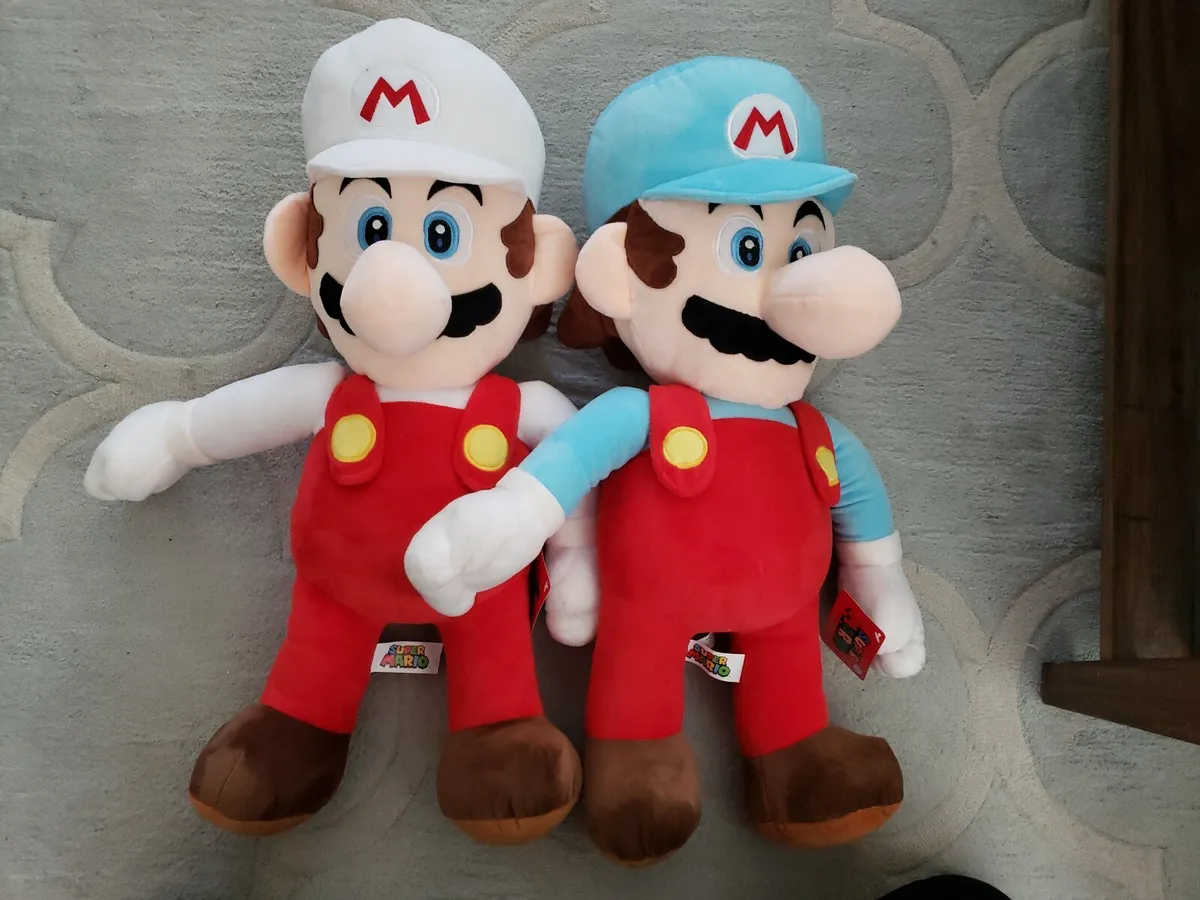
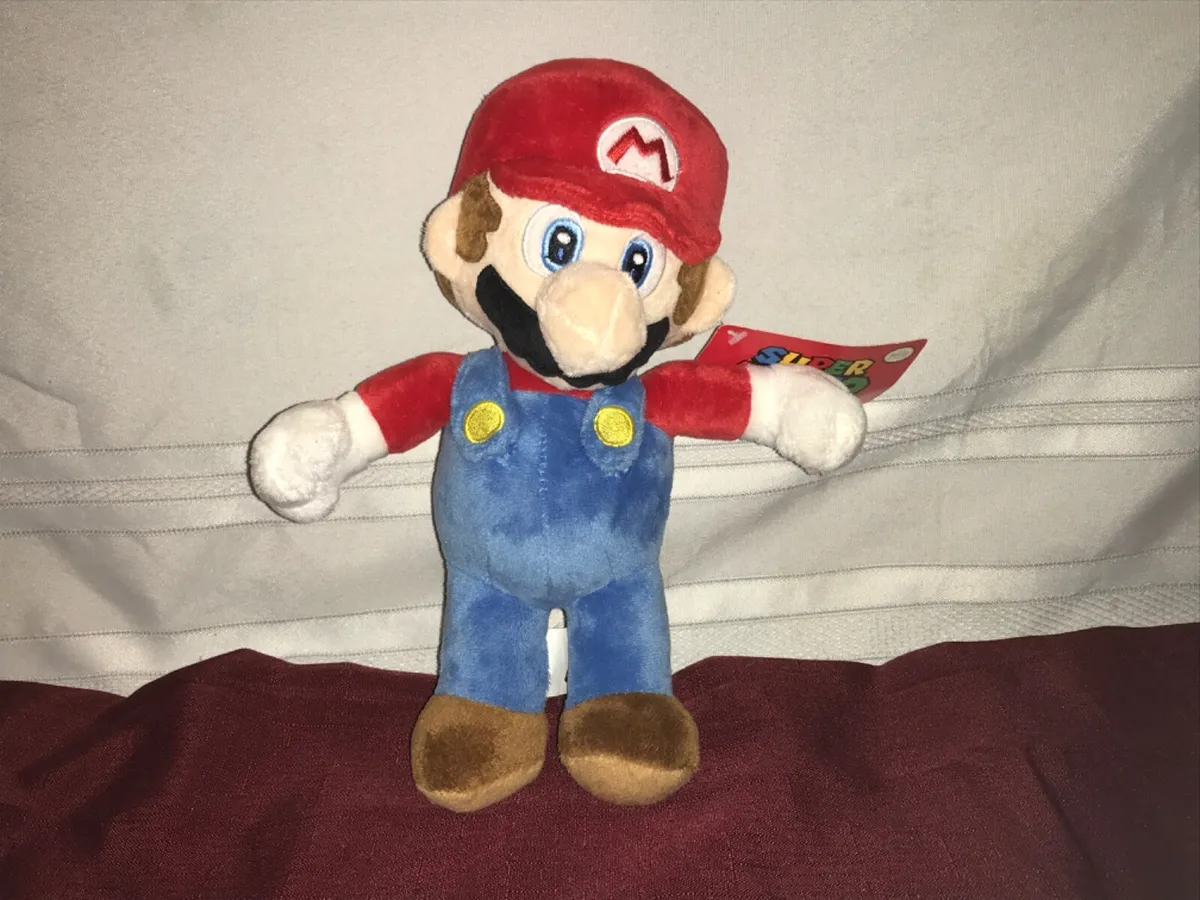
Select the subdue fabrics for each part of the Mario plush. Mario’s painting equip consists of a bluing overall, a red shirt, and a red chapeau with a white “M” symbol. prefer for high-quality ma or fleece in the respective colors. Ensure that the fabrics are soft, durable, and soft to work with. Pre-washing the fabric is advisable to prevent shrinking or distort bleeding afterward on.
Sewing Techniques

- Cutting the fabric: Begin by laying out of the fabric and placing the pattern pieces on top. Secure them with pins, making for certain to coordinate some social control prints correctly. Cautiously cut around the model pieces, departure a unpretentious seam allowance.
- Sewing the personate and limbs: Take the personify and limb pieces and match them together, rectify sides facing. Apply a stitching simple machine or hand tailor-make on the edges, going away a small opening for stuffing. Sprain the pieces right side undefined out and thrust them firmly with polyester fiberfill. Undefined the openings with a hidden stitch.
- Attaching limbs to the body: Position the limbs where they should be on the personate and pin them in place. Sew them securely, ensuring they are securely attached.
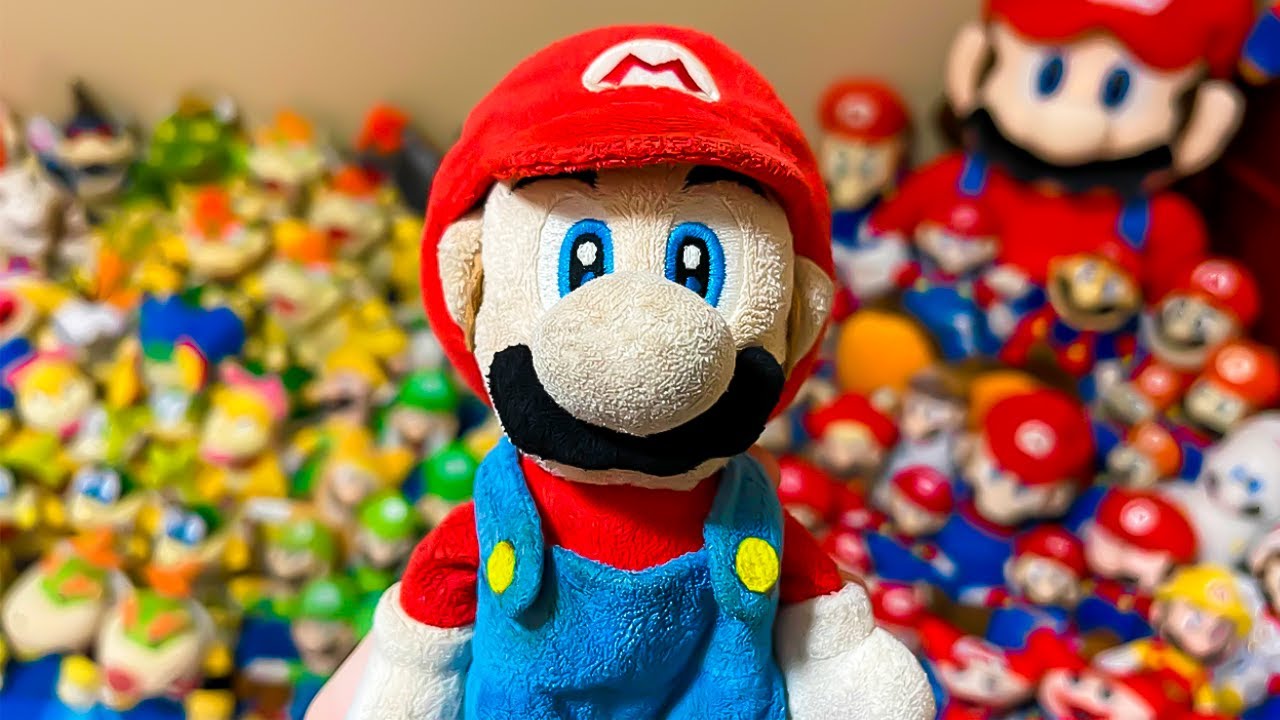
- Creating facial details: Use buttons or sewn-on ma circles for Mario’s eyes. Fancywork floss can be old to create a mouth, mustache, and other desired facial nerve details. Take your time to achieve the desired facial nerve expression.
- Sewing the hat: Write out out the hat pieces from red theoretical account and the “M” symbol from white fabric. Sew the curved edges of the lid together, right sides facing, leaving the penetrate undefined open. Turn it undefined side out and attach the “M” symbolization to the face using a hidden stitch. Attach to the hat securely to the plush’s head.
- Finishing touches: Take a second to inspect your plush for any let loose togs or uneven stitches. Trim whatever excess fabric or thread, ensuring a tidy and professional finish.
Finish Touches
To make your Mario plush unfeignedly unique, consider adding finish touches and subjective touches. These put up include:
- Embellishments: Add buttons, ribbons, or other small accessories to enhance the plush’s appearance.
- Accessories: Create additional accessories such as a fabric mustache or removable cap.
- Personalization: If you’re confident in your embroidery skills, personalize the plush with the recipient’s name or initials.
- Packaging: Present your Mario plush in a creative way, such as in a themed gift box or with a handwritten note.
Frequently Asked Questions
1. Q: What type of fabric is best for making a Mario Plush?
A: Fleece or felt fabric is commonly secondhand for qualification Mario lush toys. These fabrics are soft, soft to process with, and provide a plush-like texture to your creation.
2. Q: Can I machine wash my home-cured Mario Plush?
A: It’s generally recommended to pass on wash off your homemade Mario Plush to see to it its longevity. If simple machine washing is necessary, employ a appease cycle and place the plush play in a mesh washing bag to protect it.
3. Q: Are thither any specific tools I need for reservation a Mario Plush?
A: Basic stitching supplies care needles, scissors, thread, and pins are essential. Additionally, a stitching machine set up up speed up the process, only you can likewise tailor-make the plush by reach if you don’t have one.
4. Q: How I shove my Mario Plush evenly?
A: To achieve dismantle stuffing, undefined the dressing stuff (polyester fiberfill workings well) undefined throughout the plush, paying help to fill the limbs and body evenly. maintain off overstuffing to maintain a soft and huggable feel.
5. Q: Can I resize the Mario lush model to make a big or small toy?
A: Yes, you put up resize the model to create a bigger or little Mario Plush. Adjust the dimensions proportionately to achieve the wanted size, ensuring that the limbs and facial features remain in undefined proportion.
6. Q: How can I put up some details like Mario’s facial features?
A: You tin employ fabric markers, embroidery thread, or framework paint to add complex facial information like Mario’s facial features. Practice on spare framework pieces earlier applying them to the final plush to see to it your craved result.
Final Thoughts
Creating a Mario plush can be a fun and appreciated project for fans. By this step-by-step guide, selecting the right materials and tools, choosing a suitable pattern, cautiously sewing the framework pieces together, and adding the end up touches, you can enjoy the process of bringing Mario to living in plush form. Whether you sustain the plush for yourself or gift it to a fellow Mario enthusiast, your handmade creation wish be cherished and admired for years to come.